In about five minutes your agent will record its work in Istok: a task, the attempt, and the checks that prove the result. You will see all of it in the browser.
1. Install
curl -fsSL https://get.istok.sh | sh
istok version
This puts istok in ~/.local/bin on Linux or macOS. See Installation for other options.
2. Connect your agent
Add Istok as an MCP server once, for your user. The same connection then works in every project. The actor ID tells Istok which agent did the work.
claude mcp add --transport stdio --scope user istok -- \
  istok mcp --actor-id claude --actor-name "Claude Code"
Check it with /mcp inside Claude Code.
codex mcp add istok -- \
  istok mcp --actor-id codex --actor-name "Codex"
Add this to ~/.cursor/mcp.json:
{
  "mcpServers": {
    "istok": {
      "command": "istok",
      "args": ["mcp", "--actor-id", "cursor", "--actor-name", "Cursor"]
    }
  }
}
Any MCP client that starts a local stdio server works. Run this command:
istok mcp --actor-id my-agent --actor-name "My Agent"For example, Antigravity CLI reads the same mcpServers JSON as Cursor from ~/.gemini/config/mcp_config.json.
3. Tell the agent when to use it
MCP makes the tools available. Instructions tell the agent when to use them. Add this block to your global instructions: ~/.claude/CLAUDE.md for Claude Code, ~/.codex/AGENTS.md for Codex, User Rules in Cursor settings.
## Working with Istok

Use Istok MCP tools for non-trivial work in repositories registered with Istok.

- Before starting, resolve the current project in Istok. If it is not registered, tell me and do not register it unless I ask.
- Reuse an existing task when one fits; otherwise create a focused task. Do not create tasks for questions or tiny edits.
- Claim the task before implementing, and record meaningful progress, decisions and blockers.
- Validate the result through Istok and record the evidence. Complete the task only after validation passes.
- Do not copy Istok task state into TODO files or plan documents.
A longer version is in Working with your agent.
Istok’s MCP server also sends the agent a short guide to its tools: how to take a task through a run, record a validation and recover from common errors. Clients that support MCP server instructions, such as Claude Code, pass it to the agent. The block above is still worth adding: it says when you want Istok used, and it works in every client.
4. Register the project
Start the agent in your repository and ask:
Register this project in Istok.
Registered acme-api in Istok.
The agent registers the directory it was started in. Istok writes nothing into the repository. From a terminal, istok init does the same.
5. Give it a real task
Ask for something you would ask anyway:
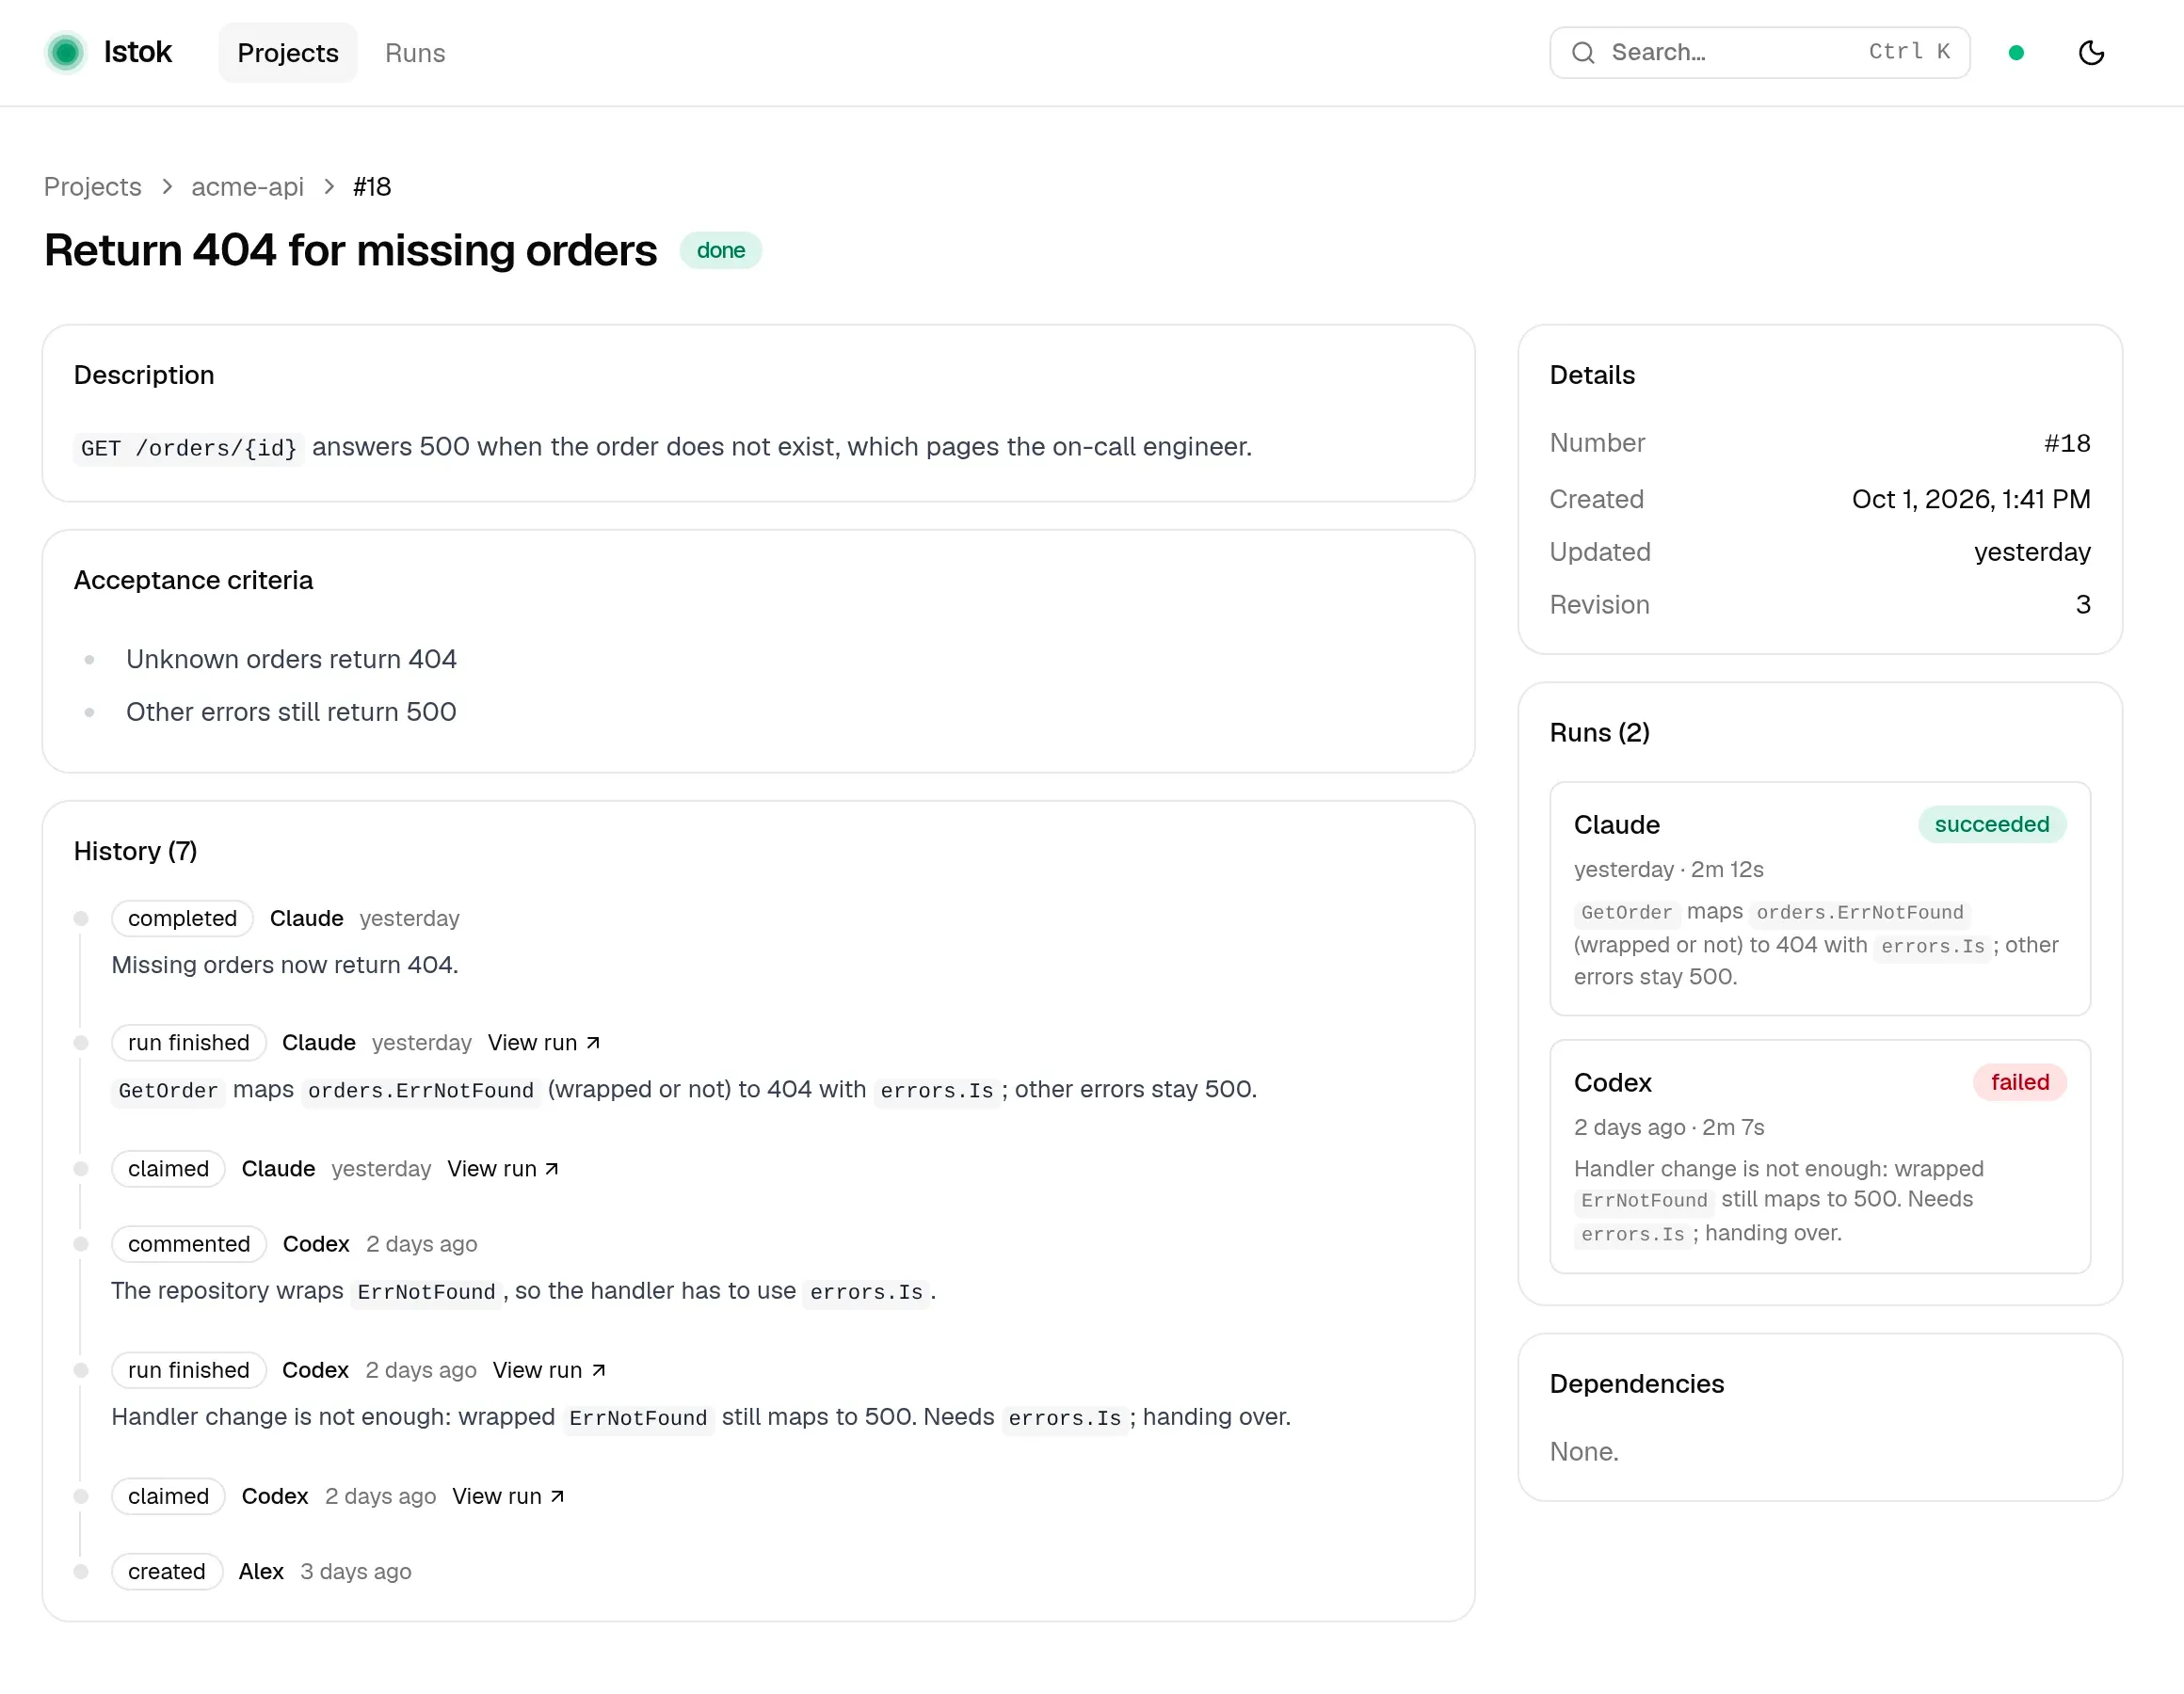
GET /orders/{id} returns 500 when the order does not exist. Make it return 404 and keep 500 for other errors.
The agent creates a task, claims it, works, runs the tests through Istok, and completes the task with that evidence. For a quick question it just answers.
6. See what happened
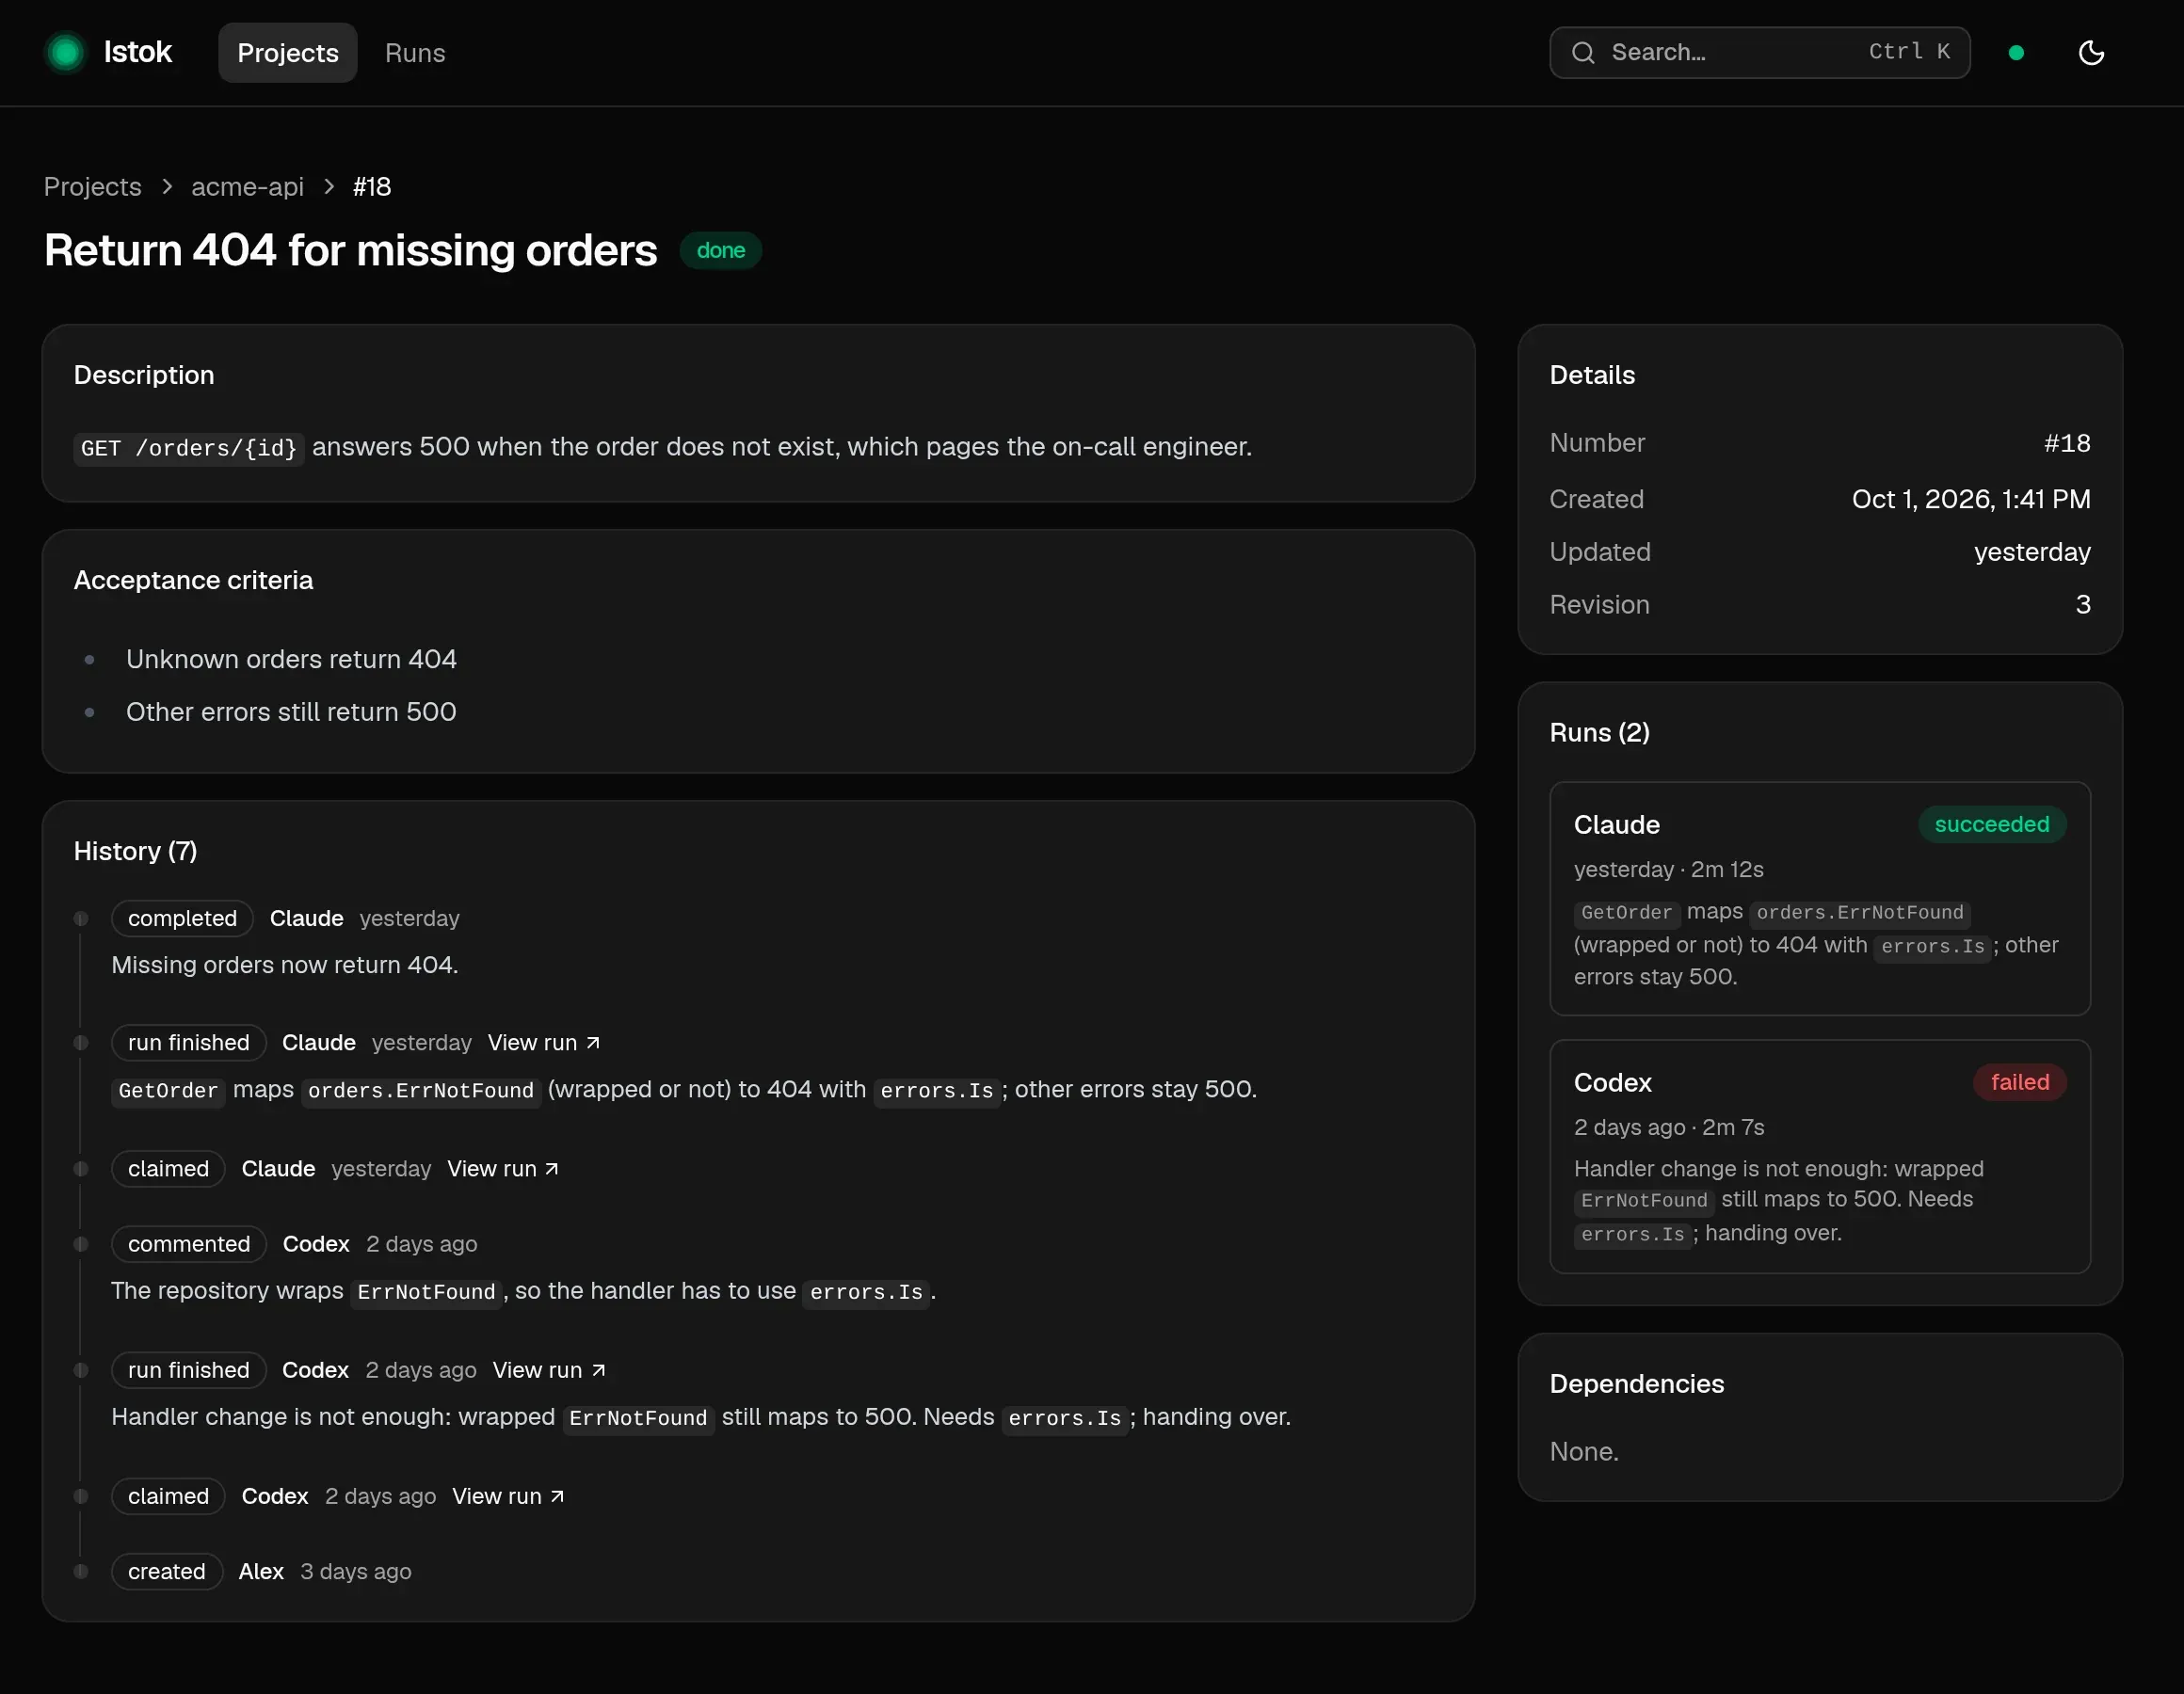
istok uiYour browser opens http://127.0.0.1:7700. Open the task to see its history, each run, and the checks behind “done”.
Next
- Working with your agent — what to say to continue, hand over, and finish with proof.
- Web UI — everything the UI shows.